It appears that a lot of people feel that the replacement of Gottlieb drop targets is quite a chore. If you follow this approach, hopefully, the process will take a lot less time and effort. The pictures used in this guide are from a 1976 Gottlieb Card Whiz. However, this approach applies to most games prior to and after 1976. I chose to illustrate a typical large bank of drop targets on an EM, because the most work will be involved. Newer model drop target assemblies from the System 1/80/80A/80B era, (solid state games from ~1978 - 1989), are even easier to replace, because the "all drops down" lever is not used. Plus, the bottom plate was redesigned with "cutouts" so that it can remain fastened to the front plate during drop target replacement.

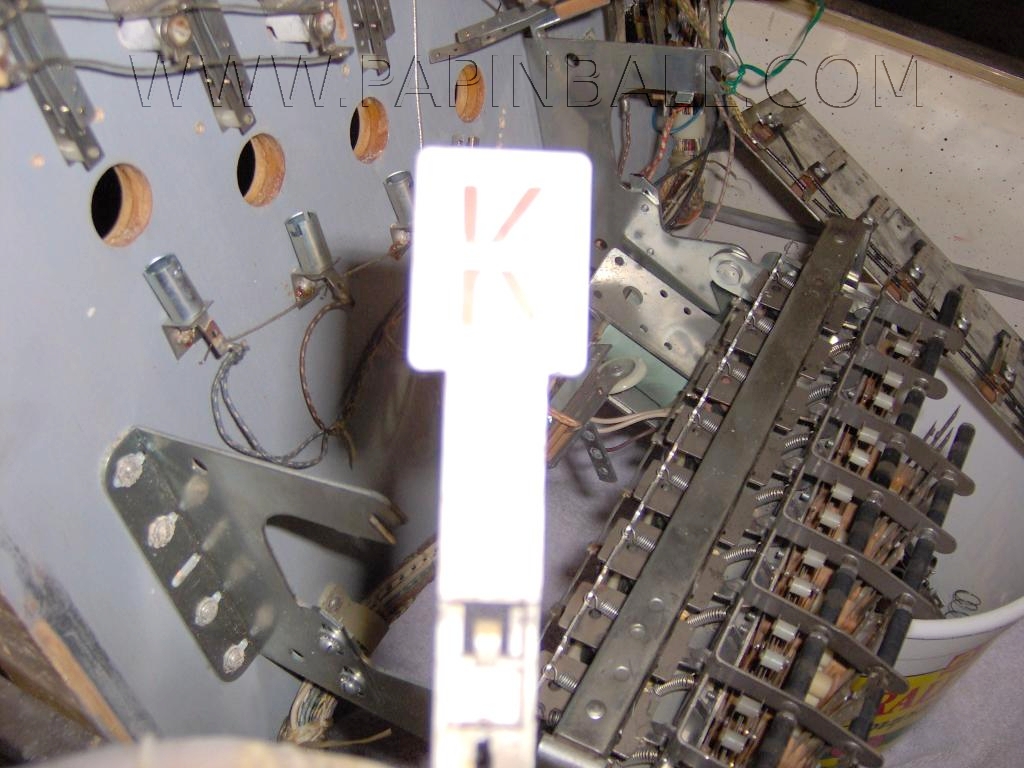
First, remove the backing plate from the drop target
assy. If there are switches which protrude up through the
playfield on the back of the drop target assy., remove them from the
plate. Keep the individual drop target switches attached to the
plate. Allow the backing plate to hang by its wires, or tie it
loosely to a playfield bracket, where it will be out of the way.
|

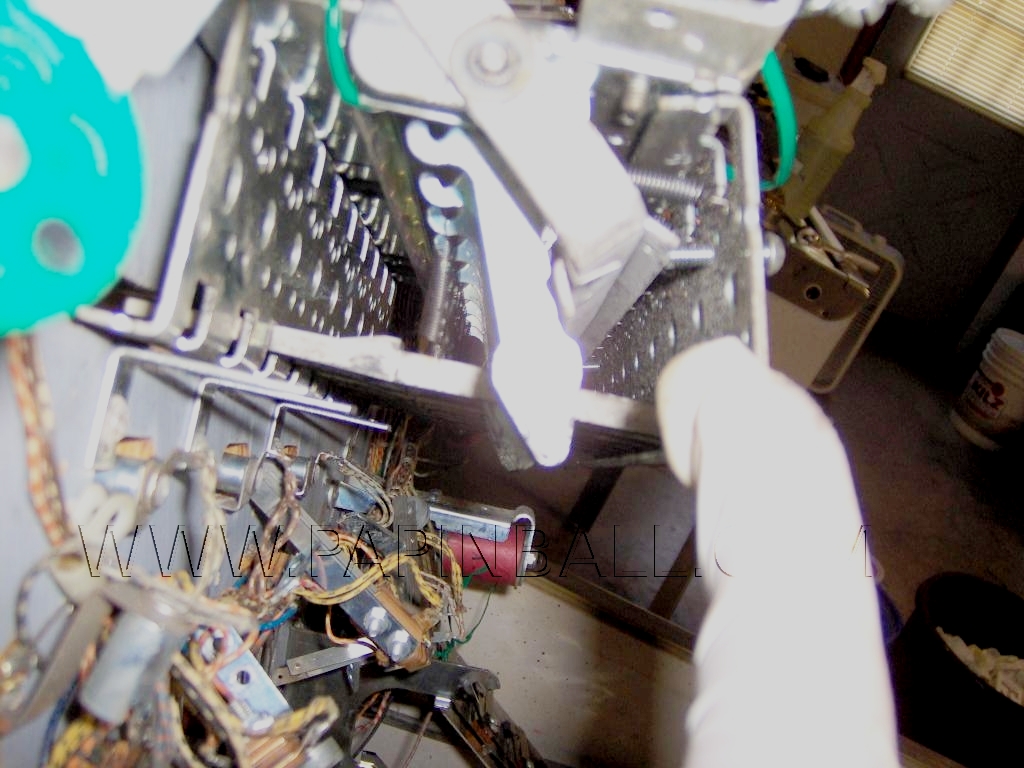
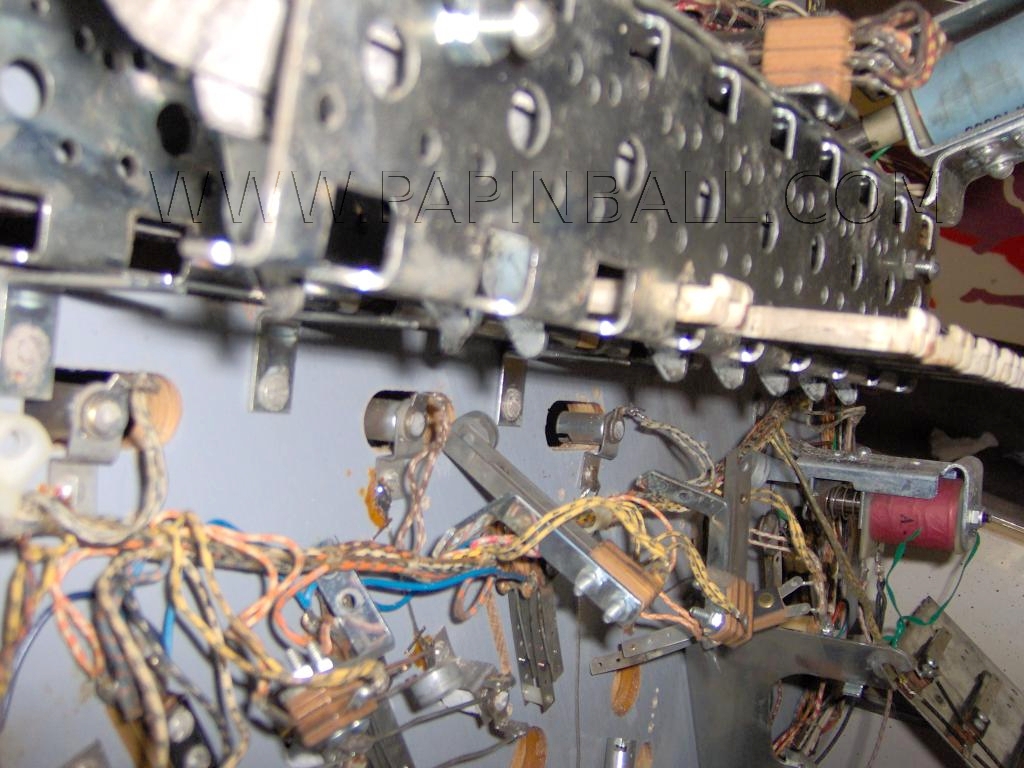
This applies to most EM's, take a wire tie, nylon tie, or
string and tie back the bar which detects when all drop targets are in
the down position. Try to get the bar as far away from the
individual drop target arms. This bar will only get in the way
when trying to remove or install new targets.
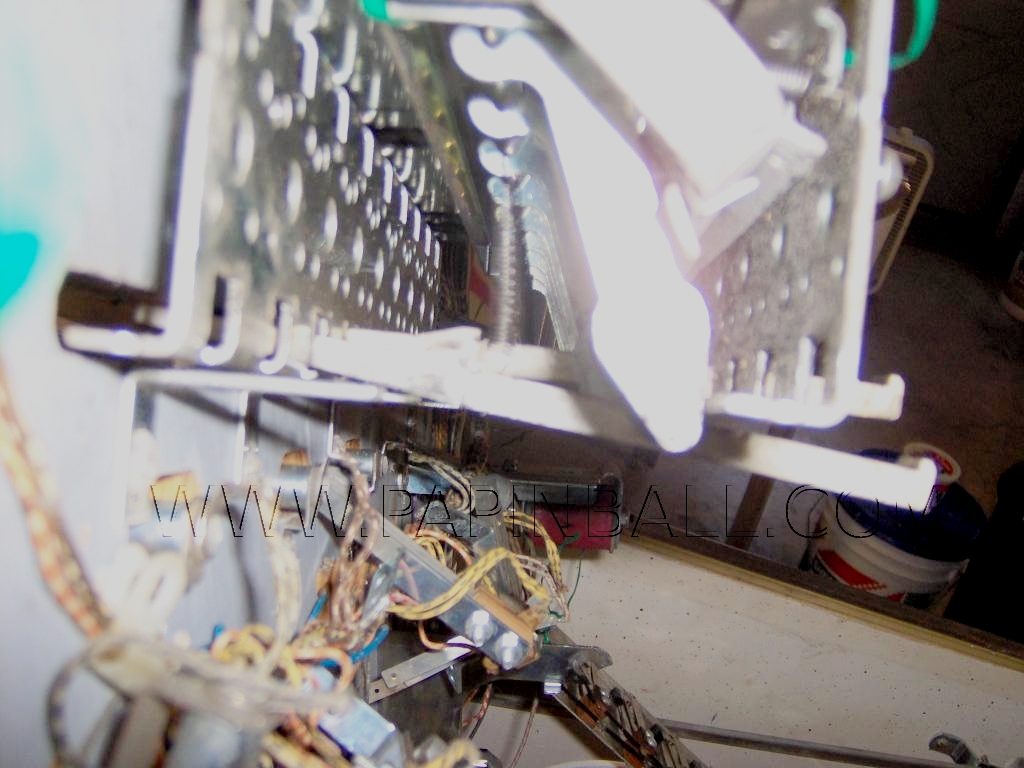
Next, loosen the screws that attach the bottom plate to the front plate of the assy. Make them as loose as possible, but do not remove these screws. If the screws are removed, a lot of extra work will be involved to reassemble the assy., because the lower springs will have to be reattached to each drop target arm. If you are removing all of the drop targets from a bank, start with the targets closest to you first. Why, you ask? Well, there will be less mechanical assys. getting in the way when removing each target. Work from left to right or right to left. Another way is to remove the outermost targets first, and work you way in towards the center target. Try a system that you feel most comfortable with. In this picture, the first two targets on the left have already been removed. |
This picture shows a better view of the tied back "all drops
down" lever. Also, you can see how much play there is in the
bottom plate of the assy. with the screws loosened.
Take the bottom plate and push it as far away from the playfield bottom as possible, and hold it. |
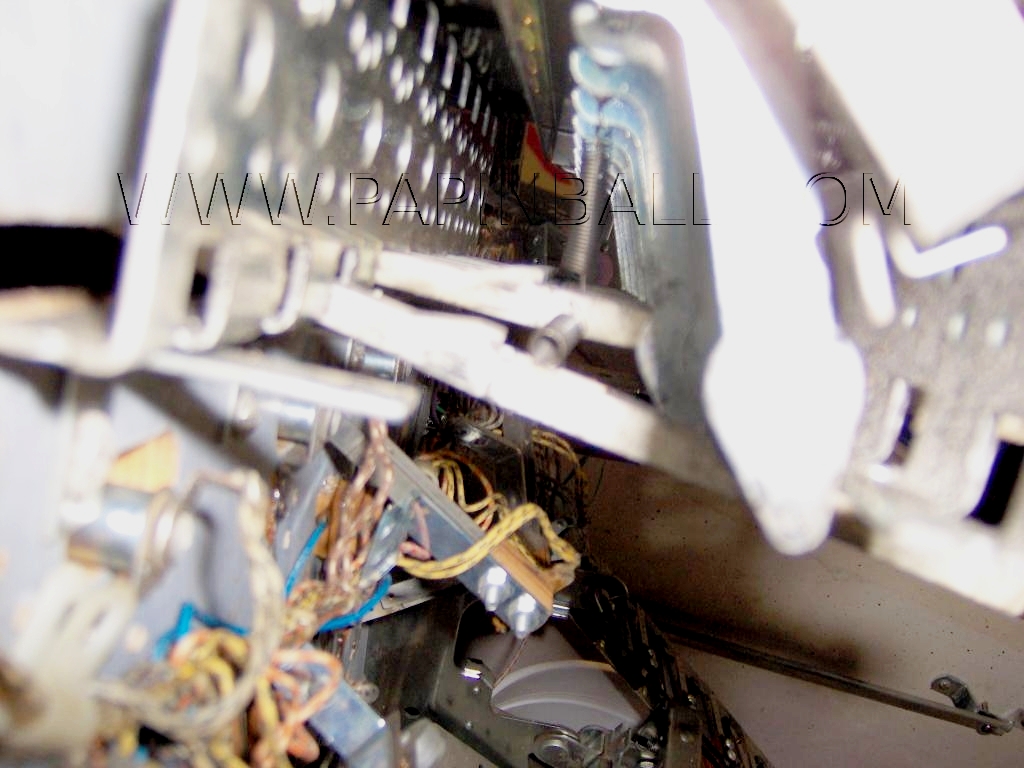
Next, move the drop target towards the playfield, and remove
the bottom of the target from the rectangular hole in the bottom
plate. It will be a very tight fit to clear the bottom plate, but
if the plate is loose enough, it can be done. The drop target
spring should still be attached to the drop target lever assy. If
it's not, skip the next step.
|
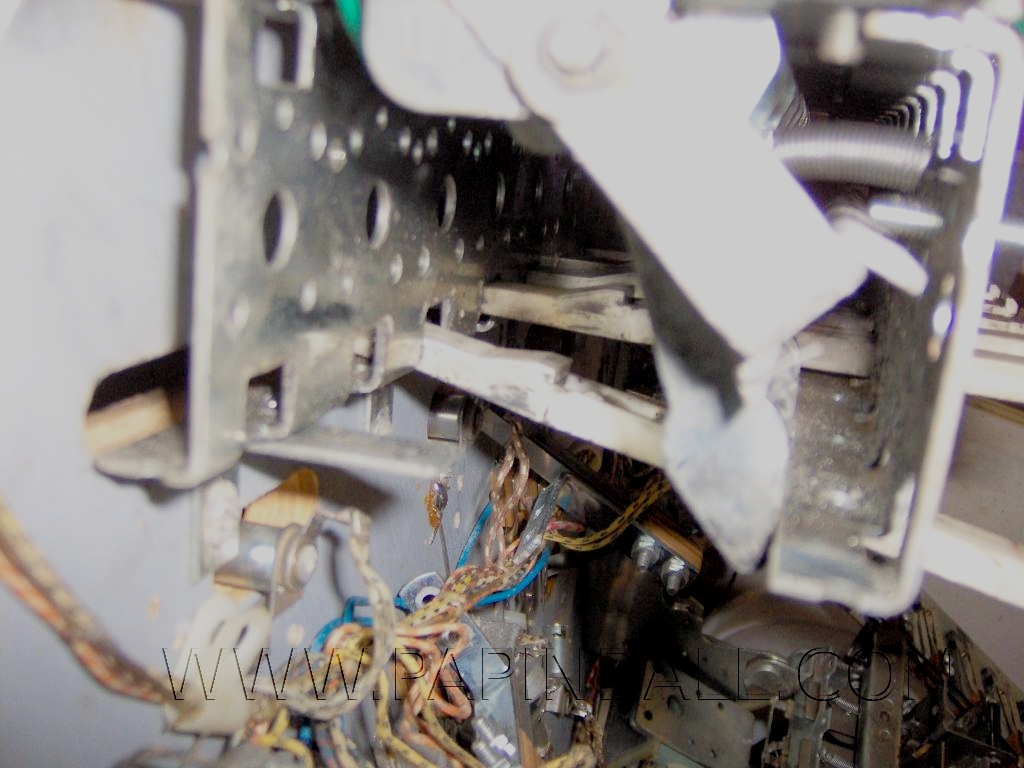
Now, remove the spring from the drop target lever. To
do this, first pull the the drop target away from the playfield as much
as possible. Then, move the drop target away from the bottom
plate as much as possible, but not too much. Pay close attention
as not to snap off the head of the drop target. Finally, to
remove the spring, there are several ways this can be done. You
can straddle the drop target with your index finger and thumb, and
remove the spring. The other way is to hook the loop of the
spring with a dental pick, and gently remove it from the lever.
|
 It is necessary to remove the spring from the drop target itself too. If not, when the drop target is pulled up from the top side of the playfield, the spring will become stretched or damaged. Straddle the drop target with your index finger and thumb, and compress the spring against the drop target with your other hand. This pushes the loop in the spring away from the molded plastic spring hook on the drop target. At the same time, gently rotate the spring back and forth until the loop is no longer around the drop target spring hook. Then, pull the spring away from the drop target. Once the spring is removed, remove the drop target lever from the slot in the drop target, and shift the target to the left or right of the lever. |
We've reached the easiest step now. Grasp the drop
target face from the top side of the playfield, and gently pull it
out. Voila!
|
Start back at the beginning, and repeat the steps for the
next drop target.
|
That wasn't so bad
after
all,
right? To install new drop targets, reverse the process.
There is one important note. When reinstalling the bottom plate,
make certain the drop target reset arm, (the single pivot arm that runs
the whole length of the assy.), is away from the bottom plate. If
not, there is a chance the reset arm stop screws on the bottom plate
could actually "pin" the reset arm permanently in the rest
position. Hence, the drop targets will never reset.
Here are some other noteworthy items, as pointed out to me by Chris H. First of all, the two springs used on a single drop target arm are different. If the bottom plate becomes detached completely for some reason, and the springs come off, don't get the two style of springs mixed up. The spring that physically touches the plastic of the drop target is a lighter gauge and slightly longer. Secondly, when reinstalling a drop target bank, it is recommended that no lubrication is used. Lubricants may appear to work great at first, but they will gum up the assy. over time. Simply clean the metal and plastic parts as best as possible before reassembling. Finally, over time the reset bar can possibly put notches in the drop target lever arms. Inspect the lever arms before reassembling. If the notches are very bad, acquire new or decent used lever arms.
With this approach, drop target removal and installation can be done without removing the whole drop target assy. from the playfield. In cases where the drop target bank is located at the very top of the playfield, (El Dorado, Solar City, Target Alpha, etc.), it is recommended to remove the playfield from the game. Then, place the playfield horizontally and upside down on your work space. If the playfield is not removed, it is very difficult to access the back plate of the drop target assy.