This quick guide is essentially an extension of the EM drop target guide. The pictures used in this guide are from a 1980 Gottlieb Panthera, but apply to later System 1, all System 80/80A, and some System 80B drop target assys. Drop target removal from this era of drop target assys. is much easier to remove than EM and earlier System 1 units, due to the "cutouts" located on the back of the bottom plate.
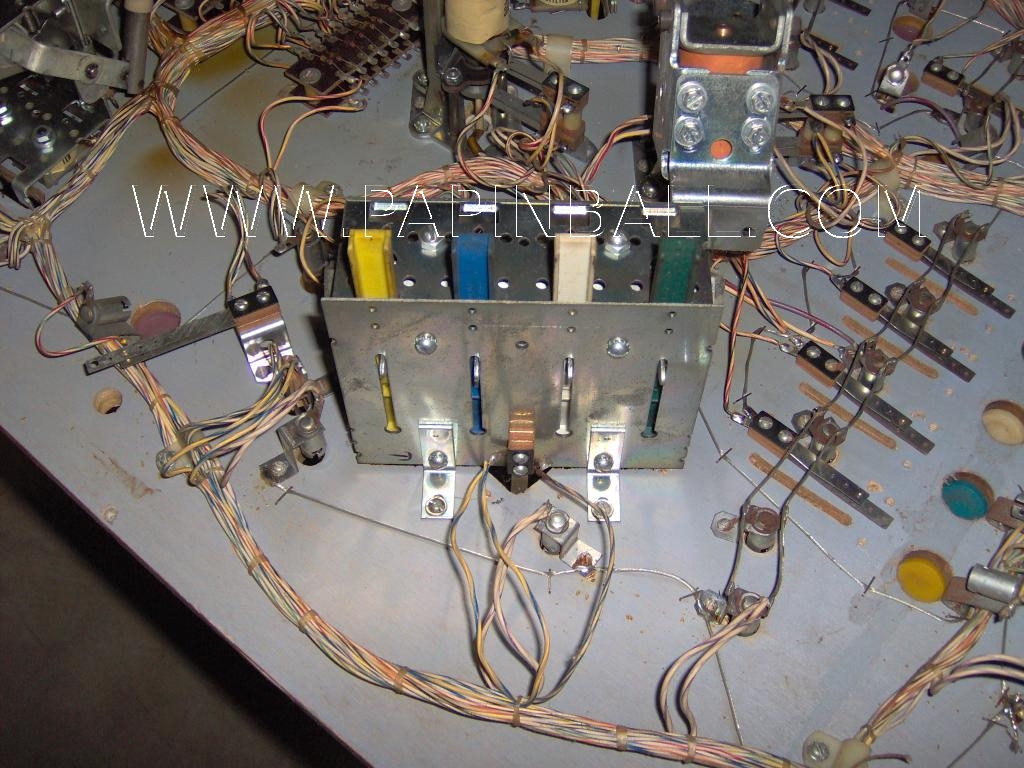
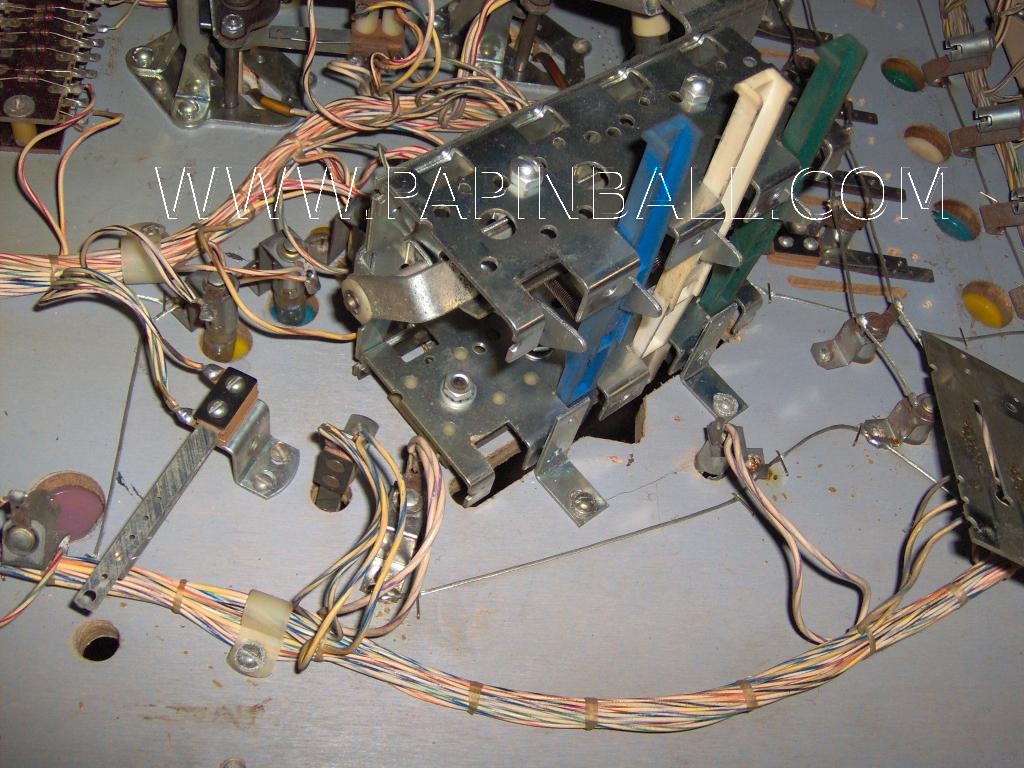
In this picture, the drop target unit is shown fully
assembled. First, place all of the drop targets in the down
position.
|
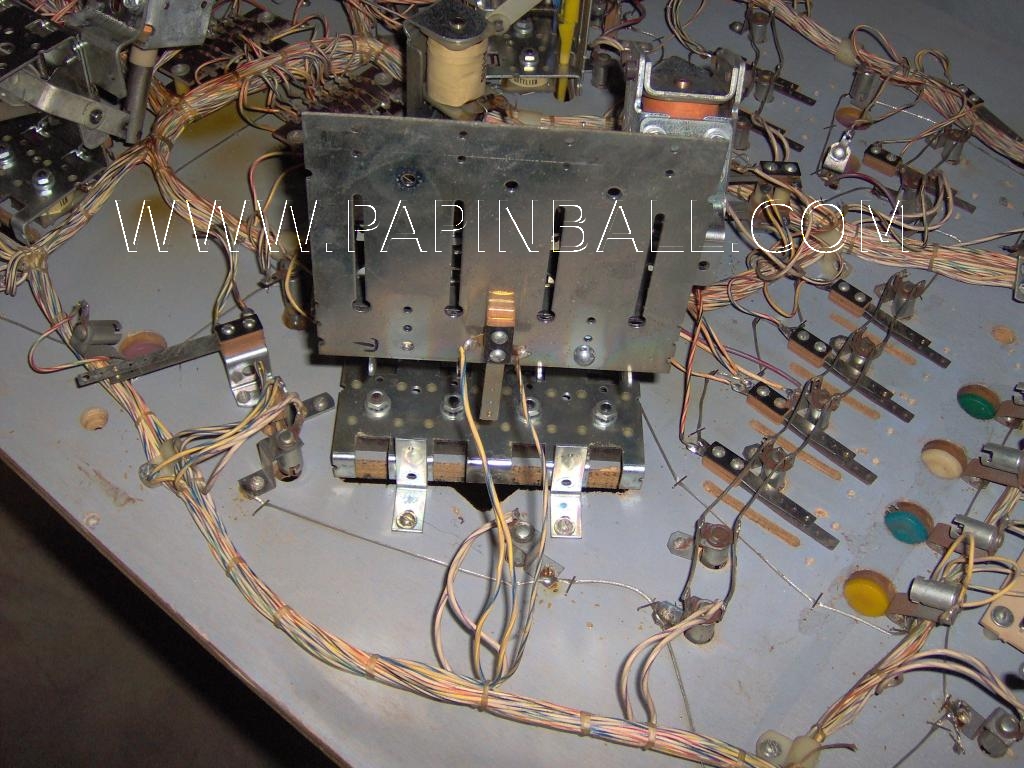
 Next, remove the four screws from the backing plate, and gently lift the backing plate away from the playfield. Do not remove the "L" brackets, which fasten the drop target assy. to the playfield. If there is a single switch mounted to the plate, it is usually not necessary to remove it. Either allow the backing plate to hang by its wires, if the playfield is upright in the game, or set it out of the way, if the playfield is horizontal. |
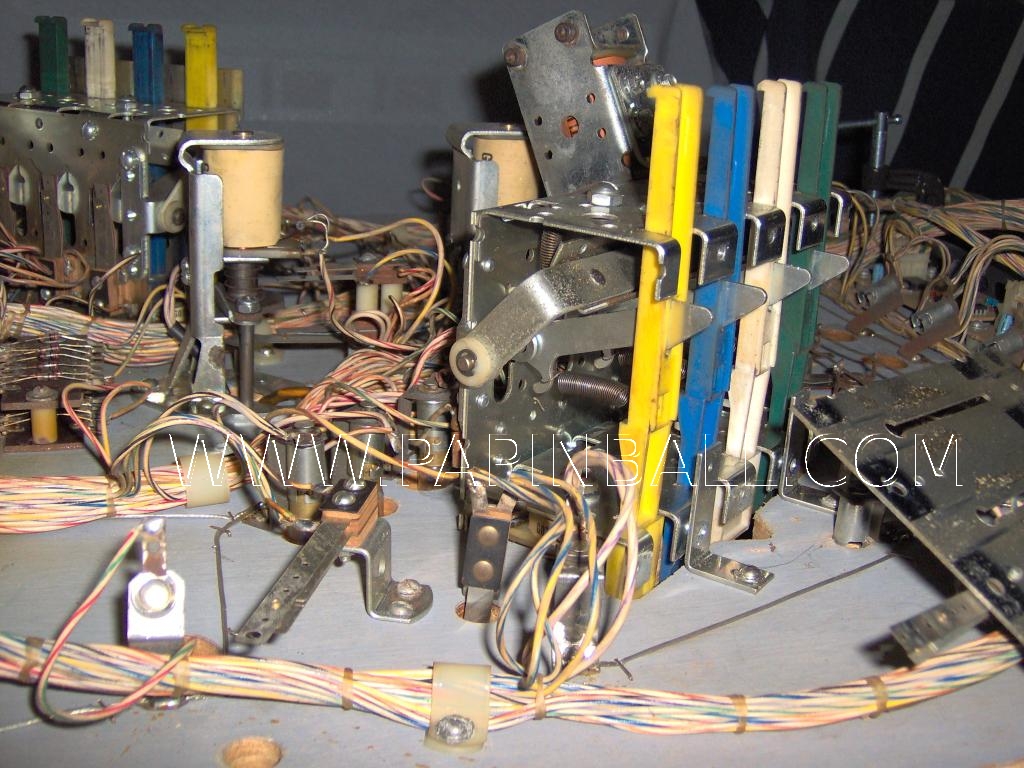 With this side shot of the assy., the drop target spring can be seen still attached to the drop target lever arm. If you are removing all of the drop targets from a bank, start with the targets closest to you first. There will be less mechanical assys. in the way when removing each target. Work from left to right or right to left. Another way is to remove the outermost targets first, and work you way in towards the center target. Try a system that you feel most comfortable with. |
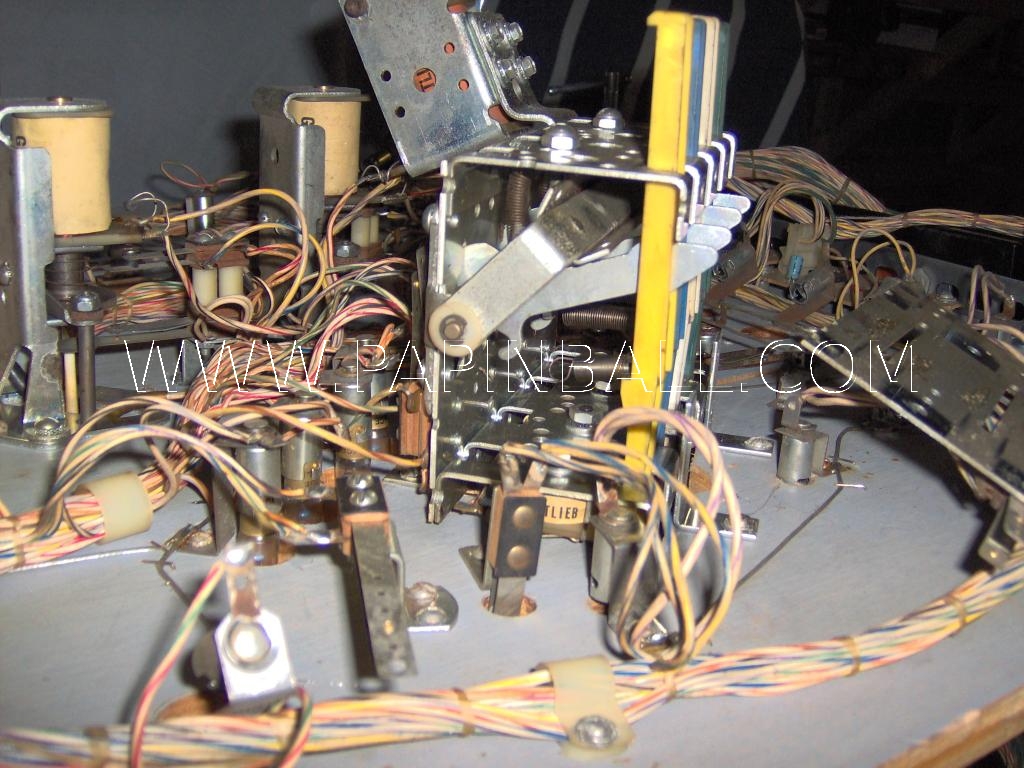 Remove the spring from the drop target lever first. To remove the spring, there are several ways this can be done. You can straddle the drop target with your index finger and thumb, and remove the spring. The other way is to hook the loop of the spring with a dental pick, and gently remove it from the lever. |
 It is necessary to remove the spring from the drop target itself too. If not, when the drop target is pulled up from the top side of the playfield, the spring will become stretched or damaged. Straddle the drop target with your index finger and thumb, and compress the spring against the drop target with your other hand. This pushes the loop in the spring away from the molded plastic spring hook on the drop target. At the same time, gently rotate the spring back and forth until the loop is no longer around the drop target spring hook. Then, pull the spring away from the drop target. |
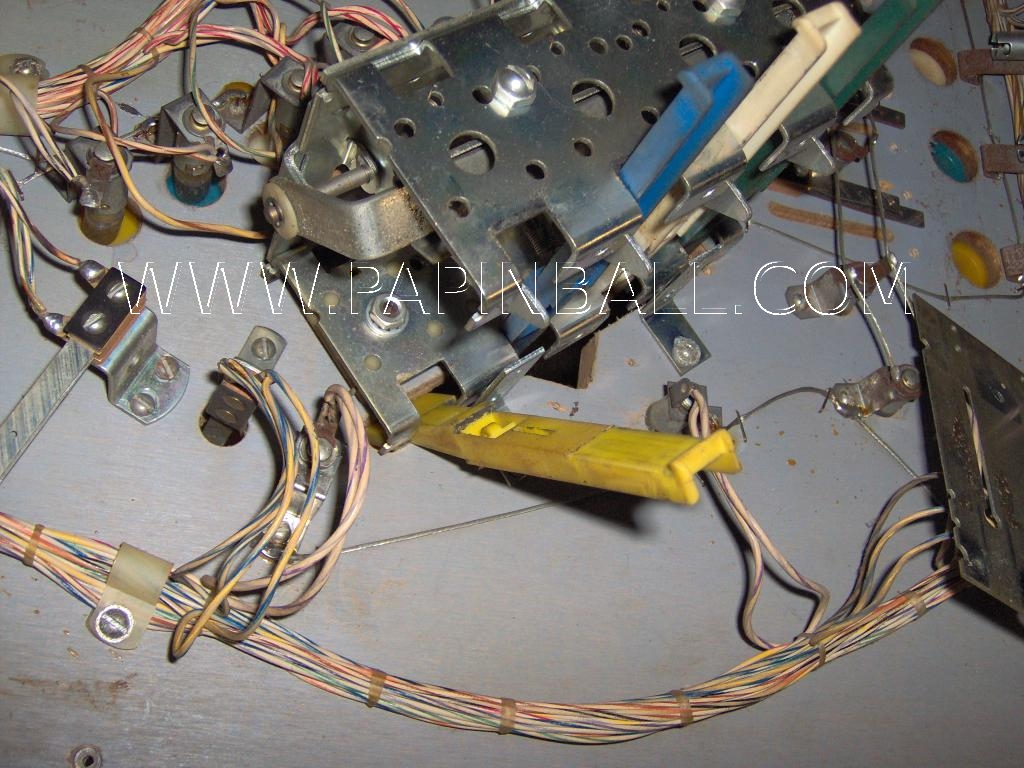
 Once the spring is removed, grasp the drop target face from the top side of the playfield, and gently pull it out. Occasionally, a drop target may not have to be removed via the top side of the playfield. If the drop target is located near the cutout area of the playfield, (the area where the single switch passes through), a drop target can carefully be removed from the bottom of the playfield. With the bank shown in this picture, both the blue and white drop targets will be removed from the bottom side. When this is the case, it is not necessary to first remove the spring from the drop target. Remove the spring after the target is removed. |
 If the drop targets are not going to be replaced until the playfield is cleaned and waxed, fasten the backing plate to the drop target cage. Use the screw hole in the plate which mounts closest to the playfield, and mount it to either of the screw holes on the cage furthest from the playfield. There will typically be enough slack in the wires of the single switch to do this. |
Follow the whole process in reverse to install new drop targets.
Home